Like everything around here, we can’t talk about the model until we’ve learned a bit about the history of the bridges in the Copper River delta.
The original plan for the Copper River Railroad – Heney’s predecessor purchased by the CR&NW when they gave up on Valdez and Katalla as starting points – was to build up the west side of the Copper River delta, along the edge of the mountains. The route would have departed from the as-built alignment just west of Flag Point (around milepost 27) and then cross the Copper about half a mile below Child’s Glacier on a bridge that would have been bigger than the famous Million Dollar (Miles Glacier) bridge. The line would have then continued on the as-built right of way over the Miles Glacier bridge and northward.
This avoided crossing the myriad of shifting streams and channels in the delta, but caused so many other problems. Building along the foot of the mountains would have required several miles of snowshed to protect against constant winter avalanches. Heavy rockwork would have been required to build a grade through the base of the mountains. It would have crossed the glacial moraine below Goodwin Glacier, which would have caused ever shifting and sinking trackwork. To top it all off, it would have needed a bridge even more magnificent than the Million Dollar Bridge. Preliminary work showed that the proposed Childs Glacier bridge would need four 400ft spans, one 300 foot span, and possibly two more 200ft spans, and with the same 35+ foot clearances to accomodate calving icebergs and seasonal flooding.
Chief Engineer Hawkins of the CR&NW requested a study to route the line through the Copper River delta instead. The alternate route would still see heavy snowfall, but no avalanches. It would also require miles of fill and trestles to cross the swampy terrain. During the evaluation, though, engineers only identified three places where cheap wooden trestles would not be suitable – Flag Point Channel (milepost 27.1), Round Island Channel (milepost 27.9), and Hot Cake Channel (milepost 33.9), the main flows of the Copper through the region. The bridges would also only need to be low structures, as river levels only varied 8-10 feet in the lower delta, versus 35 feet at the proposed Childs Glacier crossing.
The Three Channels
Other than the two big bridges at Miles Glacier and Kuskulana, the three bridges in the delta were the only steel bridges on the railroad.
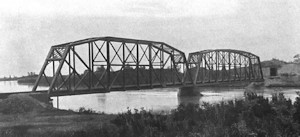
The Flag Point Bridge consisted (from west to east) of a 300 foot Baltimore truss with a curved upper chord connected to two 175ft Pratt trusses, followed by a timber trestle, then another four 150ft Pratt trusses and finally more trestlework to reach Round Island itself. The Pratt trusses here all had flat upper chords.
Round Island Channel, on the east side of the island, was bridged with a 300ft and a 260ft Baltimore truss.
Finally out at Hot Cake Channel, the railroad crossed another major river flow using a 200ft Pratt truss at the west end, a 150ft trestle, and then two more 200ft Pratt trusses. There was originally a long timber trestle approach on the west end over gravel and sand bars. All of the trusses had arched upper chords.
After the Railroad
As they say, Mother Nature always laughs last.
All of the bridges made it through the railroad years, and were converted to highway use after the line was abandoned. The Great Earthquake of 1964 rendered them all unusable. The Flag Point spans all stayed out of the water, but the piers and spans all shifted significantly and suffered subsidence. The center pier of the two Round Island spans disintegrated, causing the eastern span to be lost into the river, and dropping the center end of the west span in the water. Hot Cake stayed out of the water, but again there was significant damage to the piers and subsidence on both ends. None of this is surprising – my understanding of the concrete construction is that it was just embedded in the gravel under the river without deep supports, and there was little or no reinforcing within the concrete.
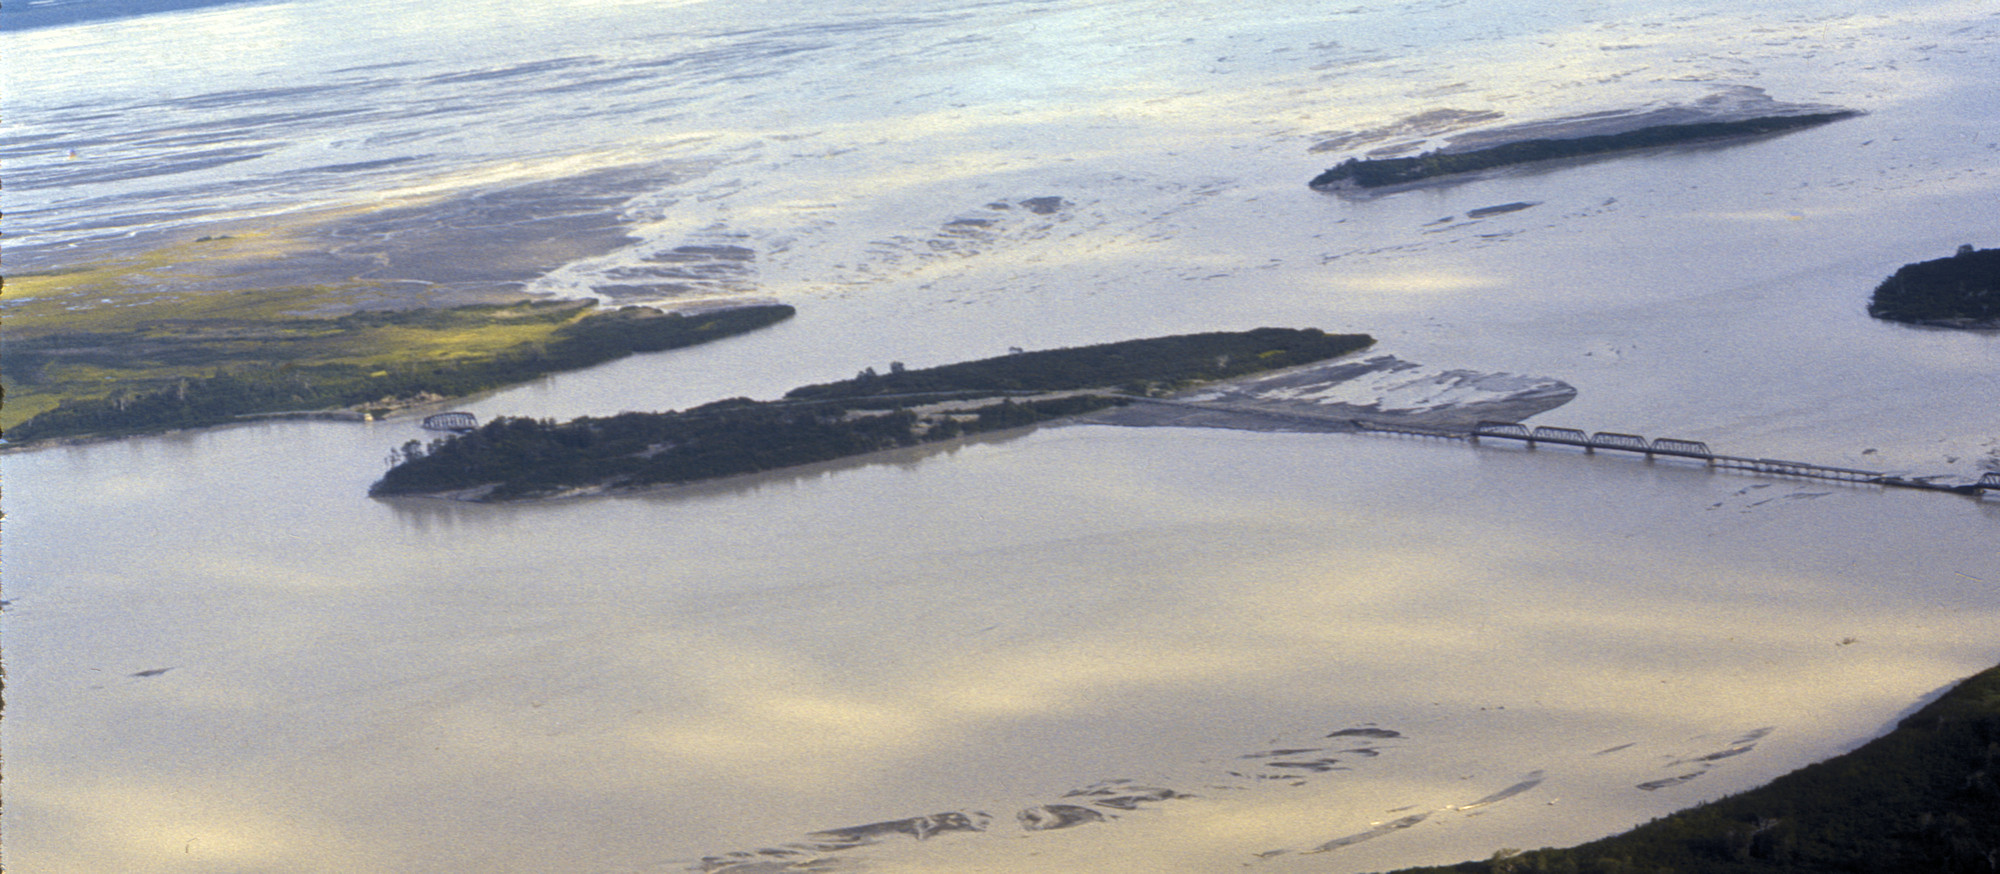
When the highway was rebuilt between 1970-1978, all of the railroad’s bridges were demolished and replaced with modern pre-stressed concrete deck girder bridges sitting on piers of concrete-filled steel columns . Those all held up relatively well until 2009. Since then, flows on the Copper River have shifted to the east. Those shifting flows have damaged bridge 339 and washed out all of the fill between it and bridge 340. These would have been where the long trestle and Hot Cake Channel bridges originally were. In addition, the shifting channels have washed the right of way into the river up at around milepost 44.
The Copper River delta is a dynamic place, and no matter what gets built, it will be an ongoing battle against the shifting channels and periodic floods to sustain it.
The Model Version
Regardless of if it were rails or highway decking on them, the 1964 earthquake would have done them in – even the ones that didn’t wind up in the water. At the least they would have been removed from their damaged piers and the piers replaced, along with rebuilding all of the approach trestles and earthwork. At worst it would have likely been more cost effective to just rethink the bridges.
Plus there’s the fact that having done the Kuskulana at full scale, Gilahina and Chitina at about two-thirds of full size, and the big Miles Glacier bridge at about half size, I didn’t have a lot of room for more big, to-scale bridges. They already chew up a good part of the total run of the layout, and honestly I’m not that interested in modeling the delta region. There’s nothing operational out there, just miles and miles of glacial sand and gravel with water running through it. The crossings in the delta would need to be just modeled as a symbolic nod.
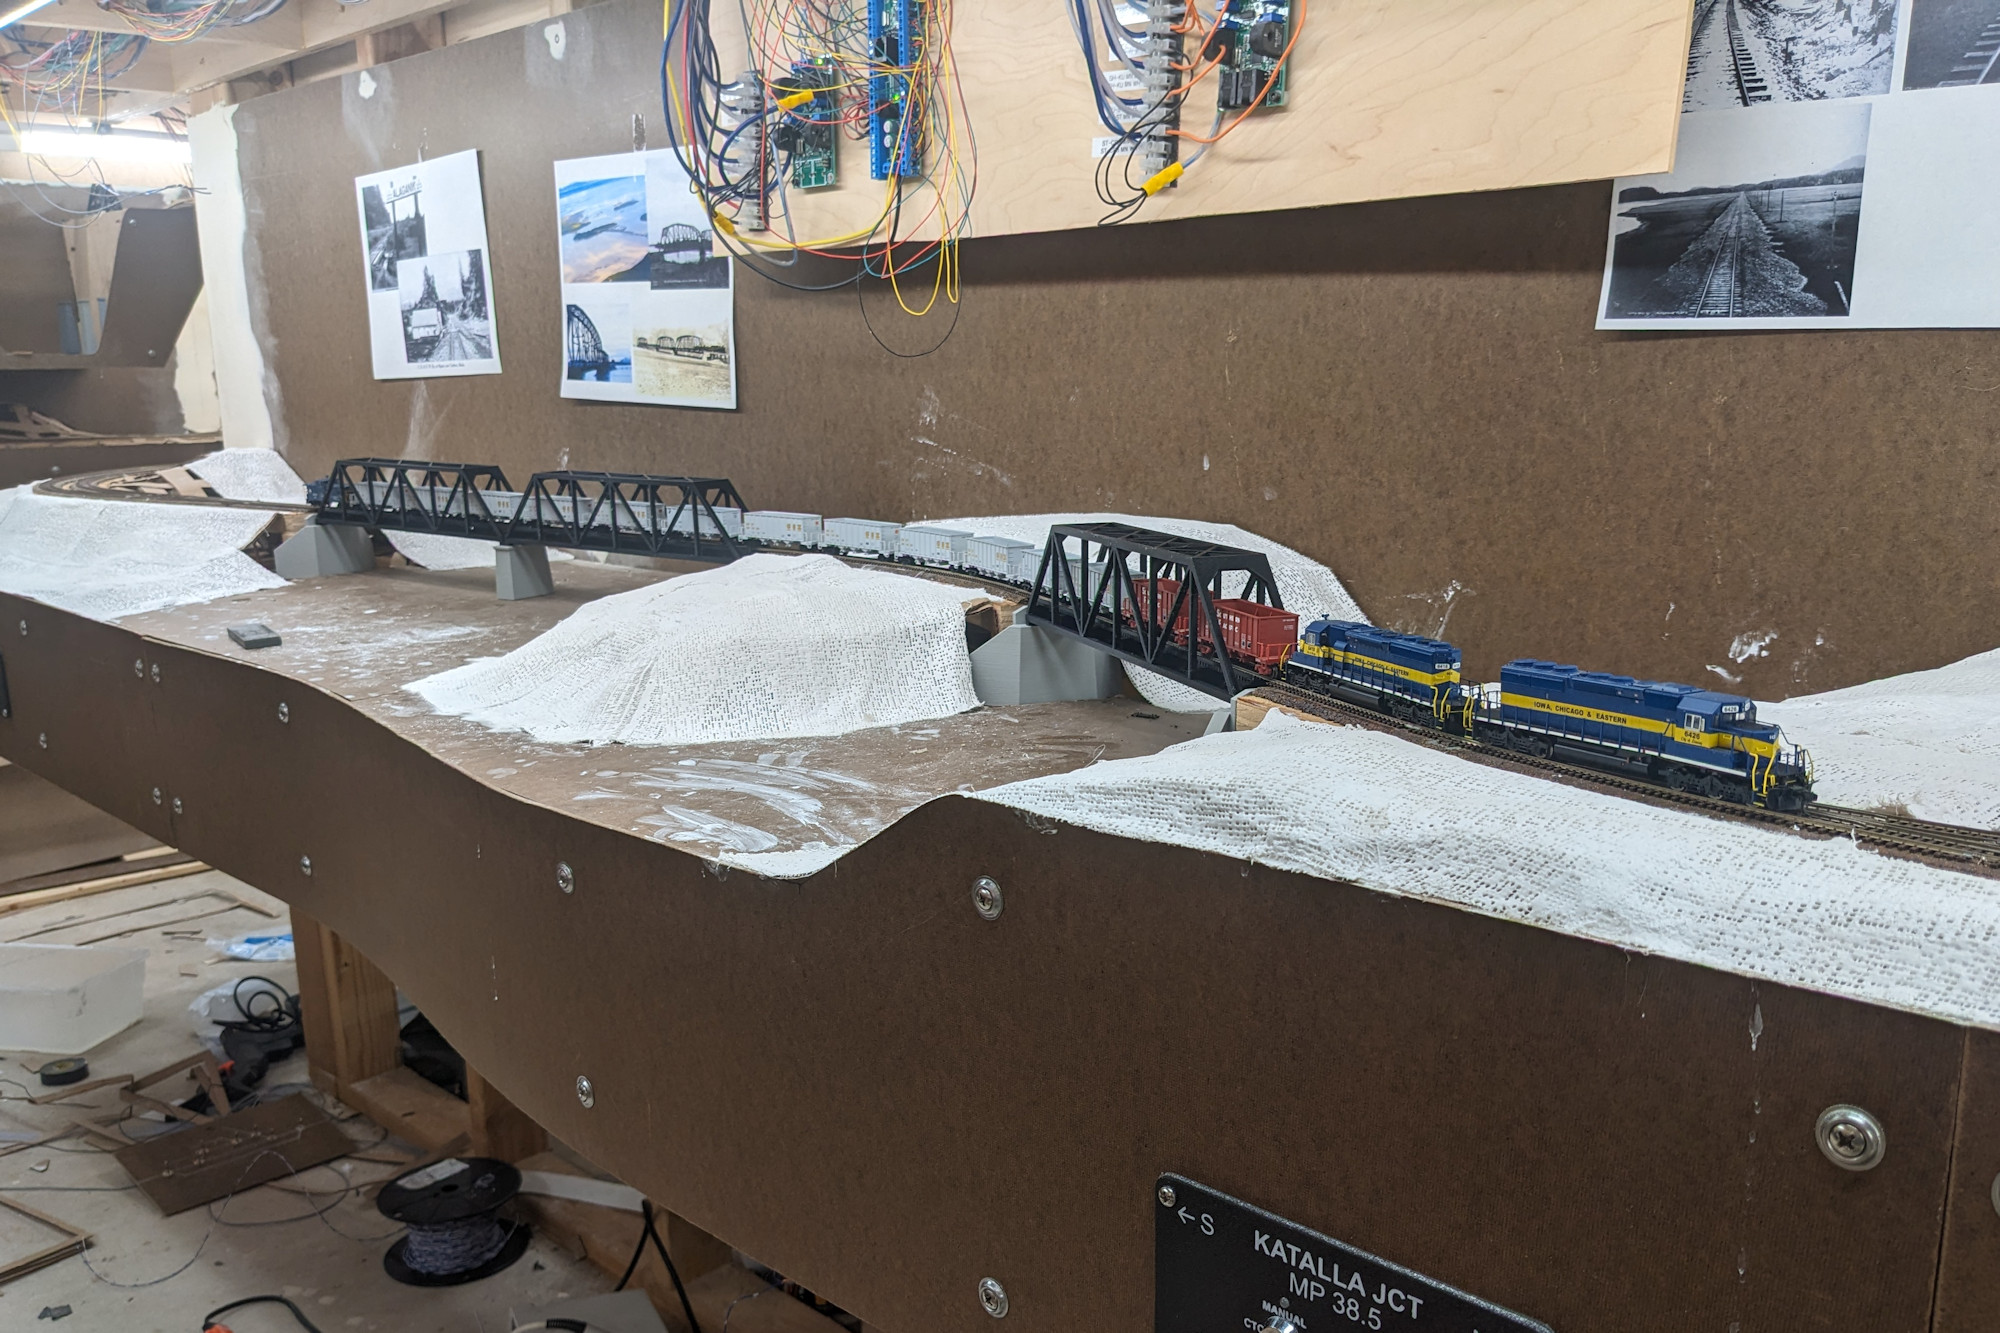
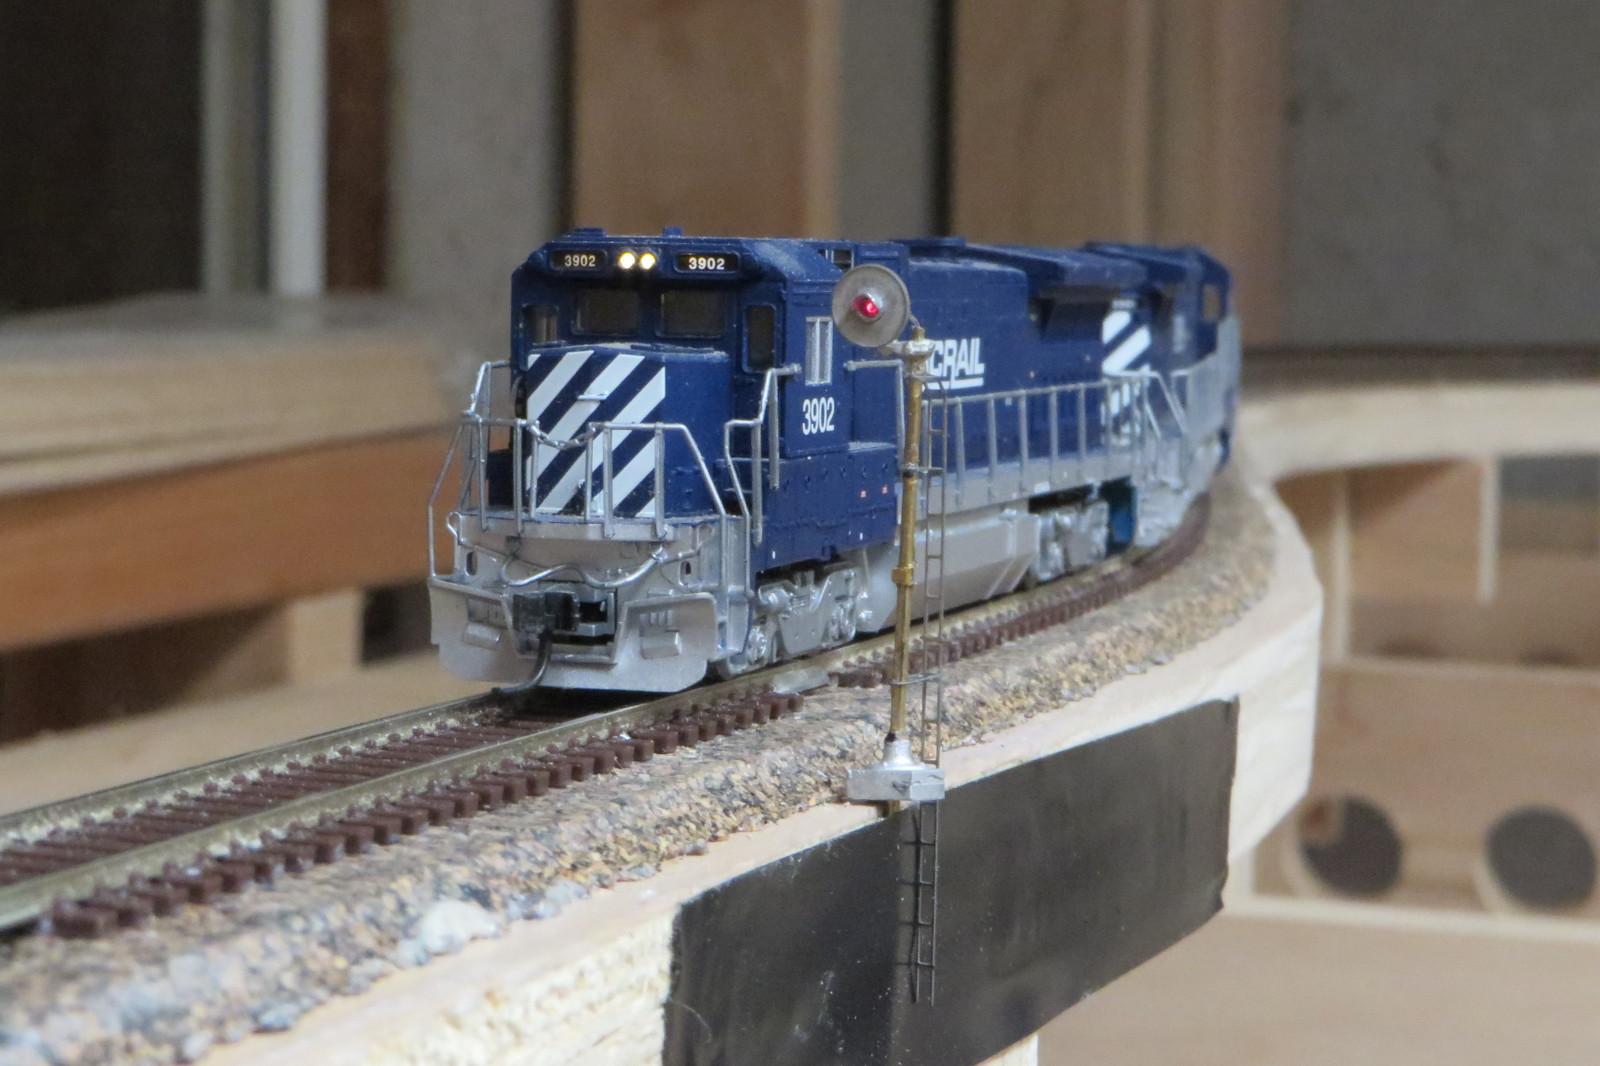
I finally settled on two truss spans on the side of some generic intermediate island and a single span on the other – nominally reminiscent of Flag Point / Round Island but much smaller. These would just be good old 150 ft. Central Valley Pratt truss spans. As with the other spans, though, I’ve opted to just build 3D-printed stand-ins while I work on the surrounding layout scenery to keep the mainline whole.
3D Models
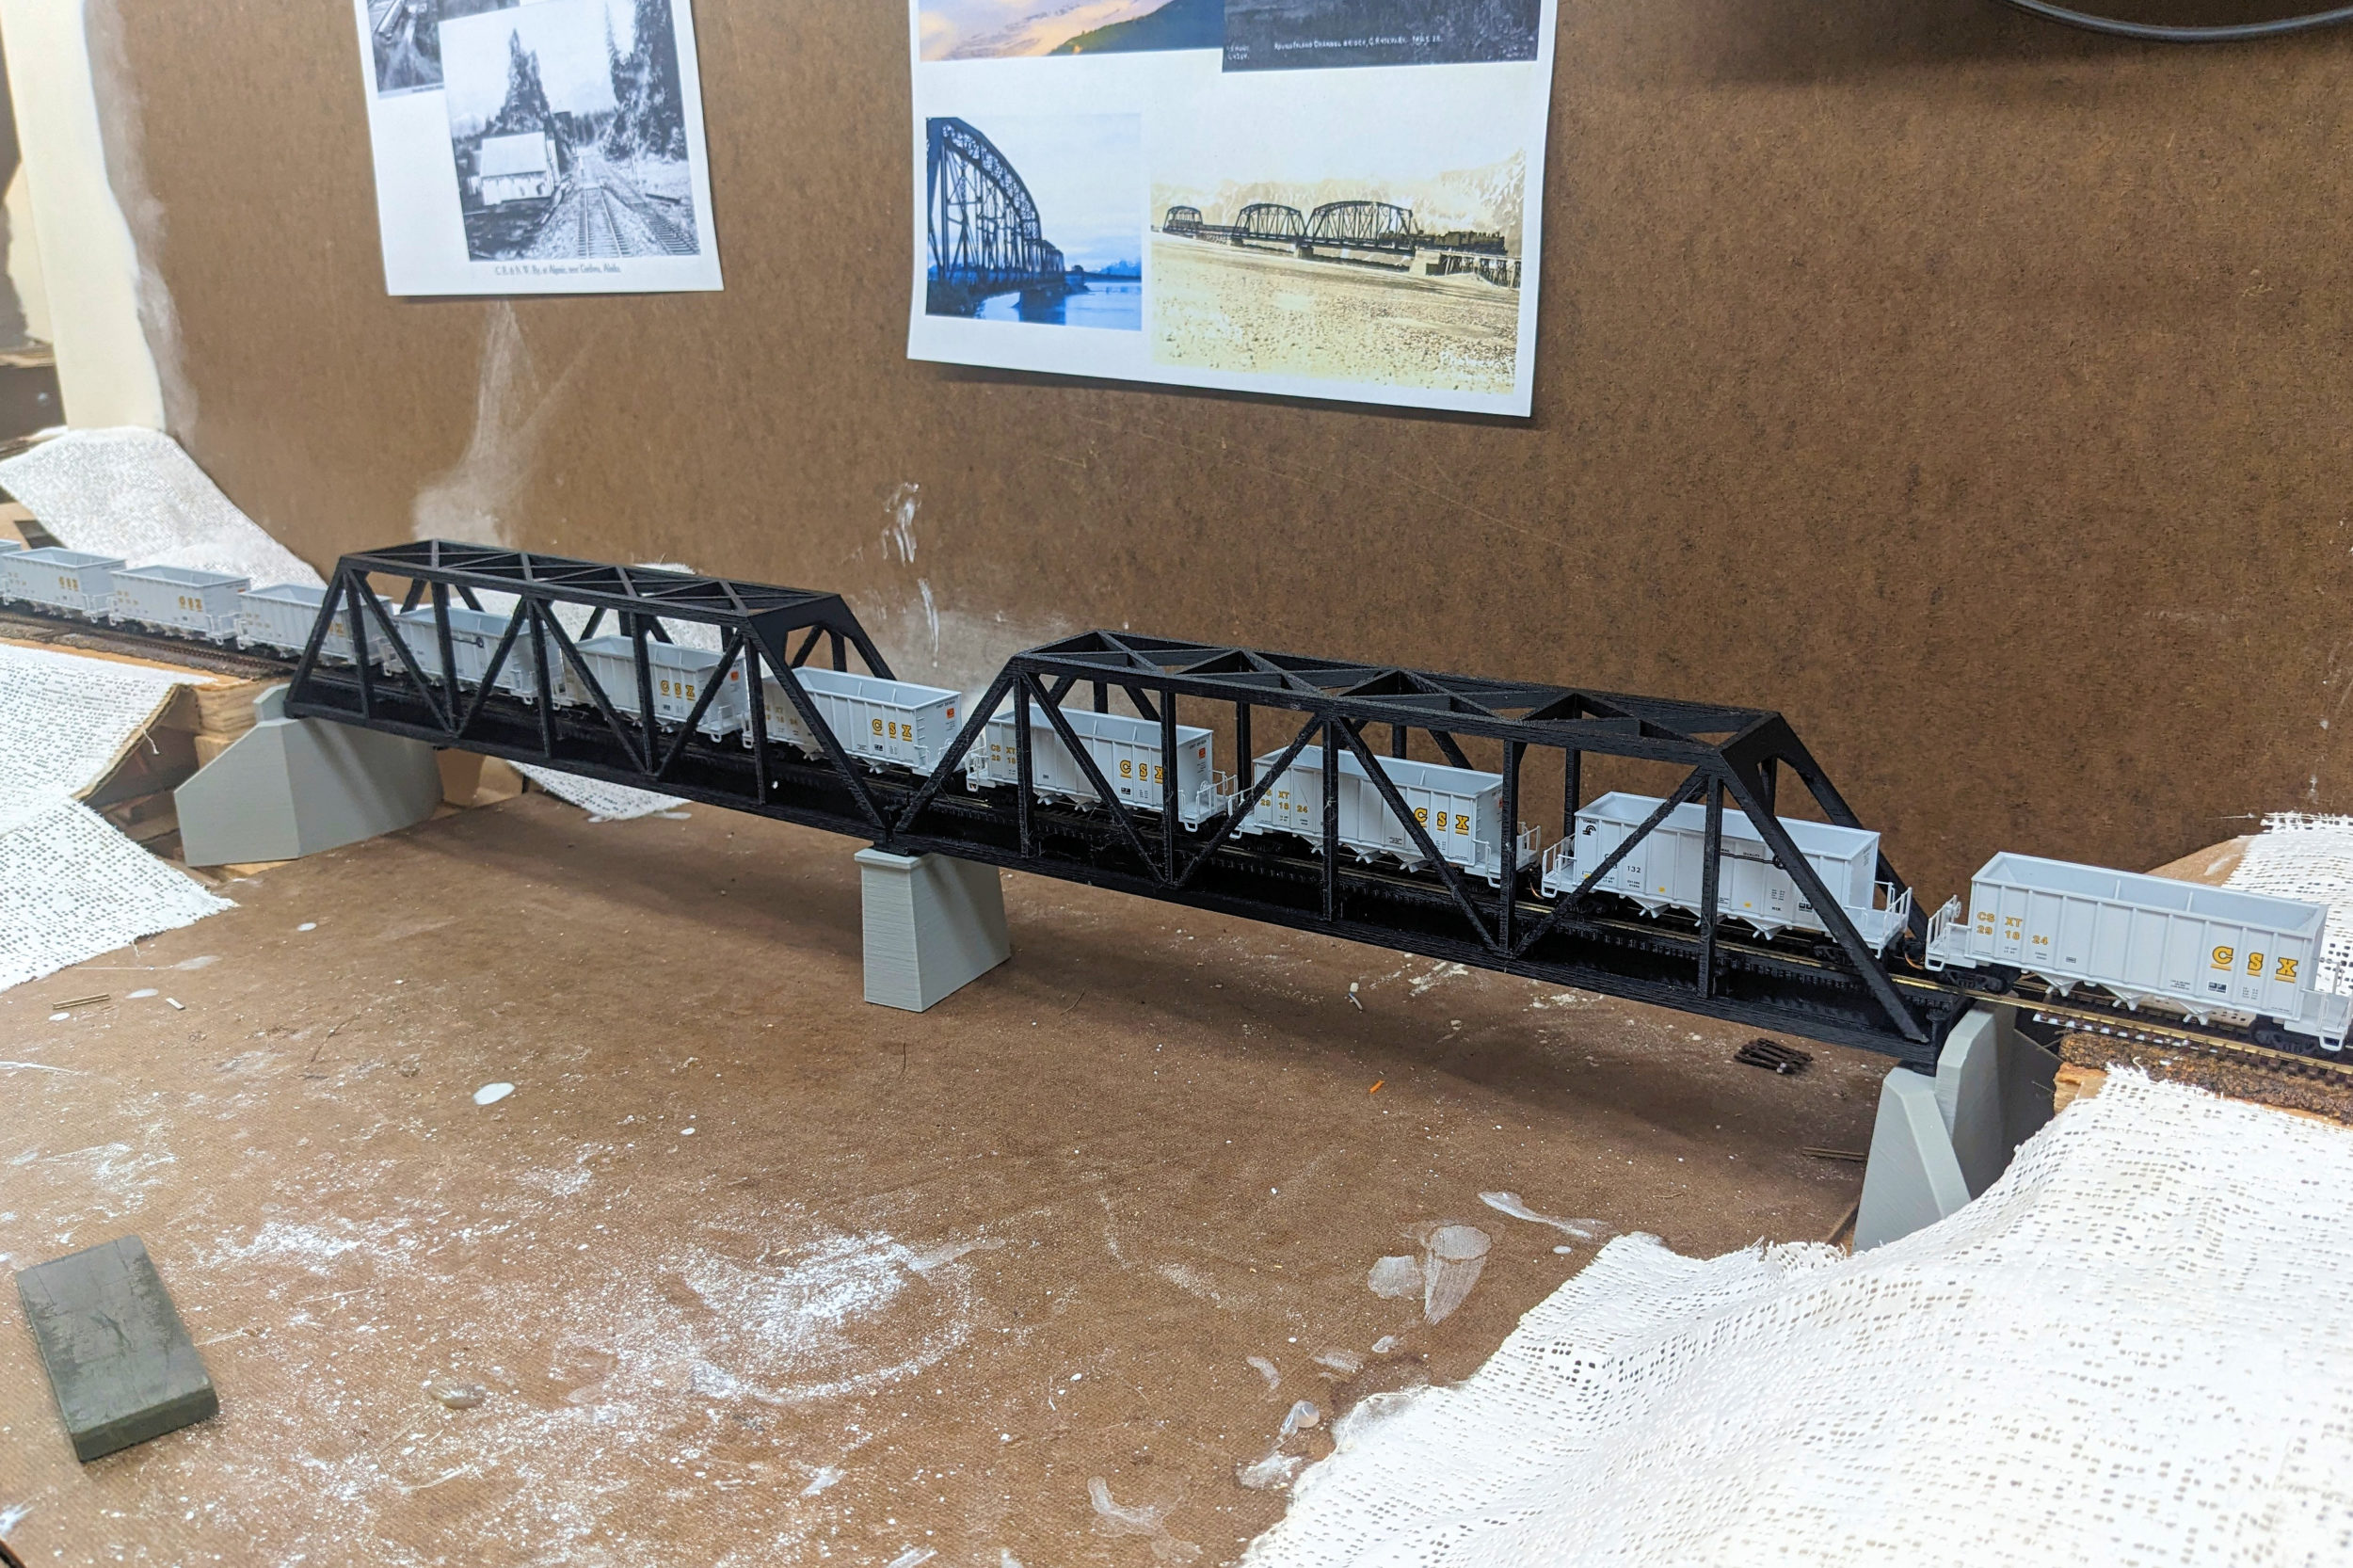
I actually printed these in three pieces – the lower members, the trusswork, and the bridge ties. Each fits just perfectly diagonally on a Prusa MK3S bed. Also, by making the upper trusswork removable, it made it a lot easier to install the bridges and get the rails cleaned. I then just set the trusswork on for now, though I’ll probably lightly secure it with a few drops of CA.
They’re printed out of just standard black PLA to give them some rigidity, but in order to get good bed adhesion all the way across for the base and bridge ties, I had to bump the bed temp up to 70C. The upper truss was printed upside down, such that the top members were against the bed. I managed to do all of it without any support material. Some of the truss diagonals show a little roughness, but it’s passable for a temporary structure to give me the right look and feel while I work on scenery.
The STLs and F3D source files are posted on here on Thingiverse. All licensed CC-SA, so have fun with whatever you do with them.


